TOPIC: PrettyUgly show
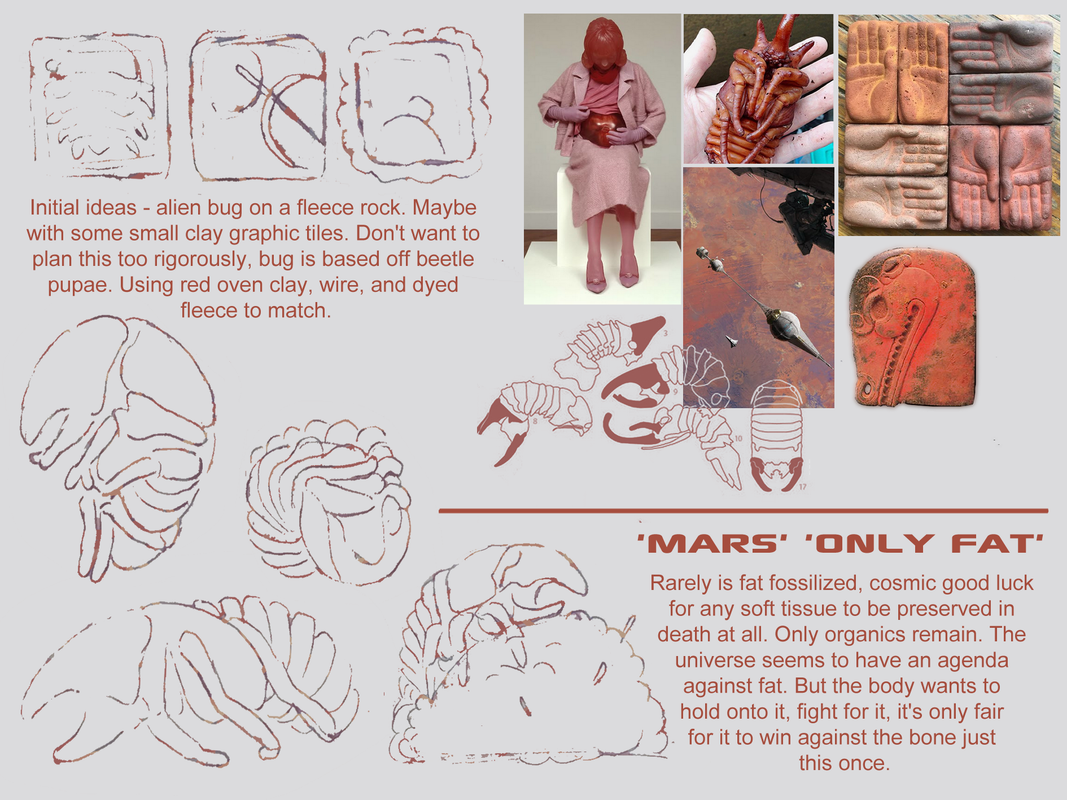
Keeping it simple this year, especially since I put so much into my Homunculus Party piece. I immediately had the image of a big red bug and didn't want to fight for something deeper. I keyed out some shapes in my sketch book, formalized them digitally with some moodboards and notes. The shape I settled on is pretty directly that of a stag or rhino beetle pupa on a mossy red mars rock.
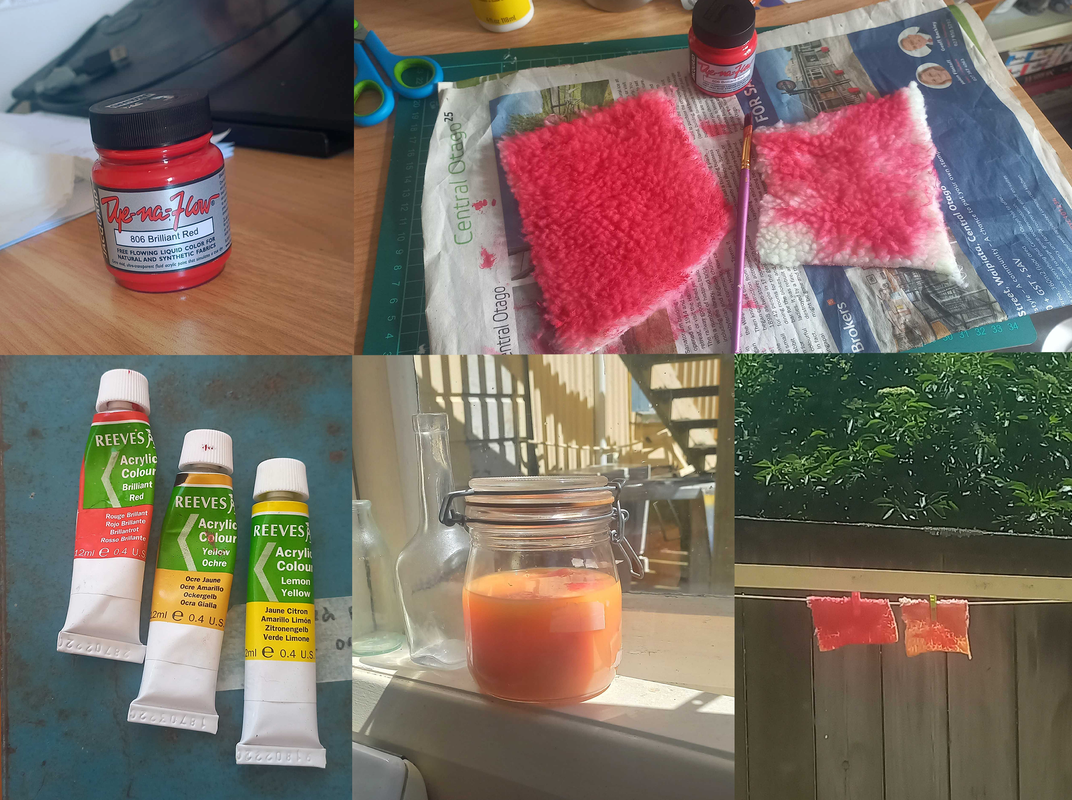
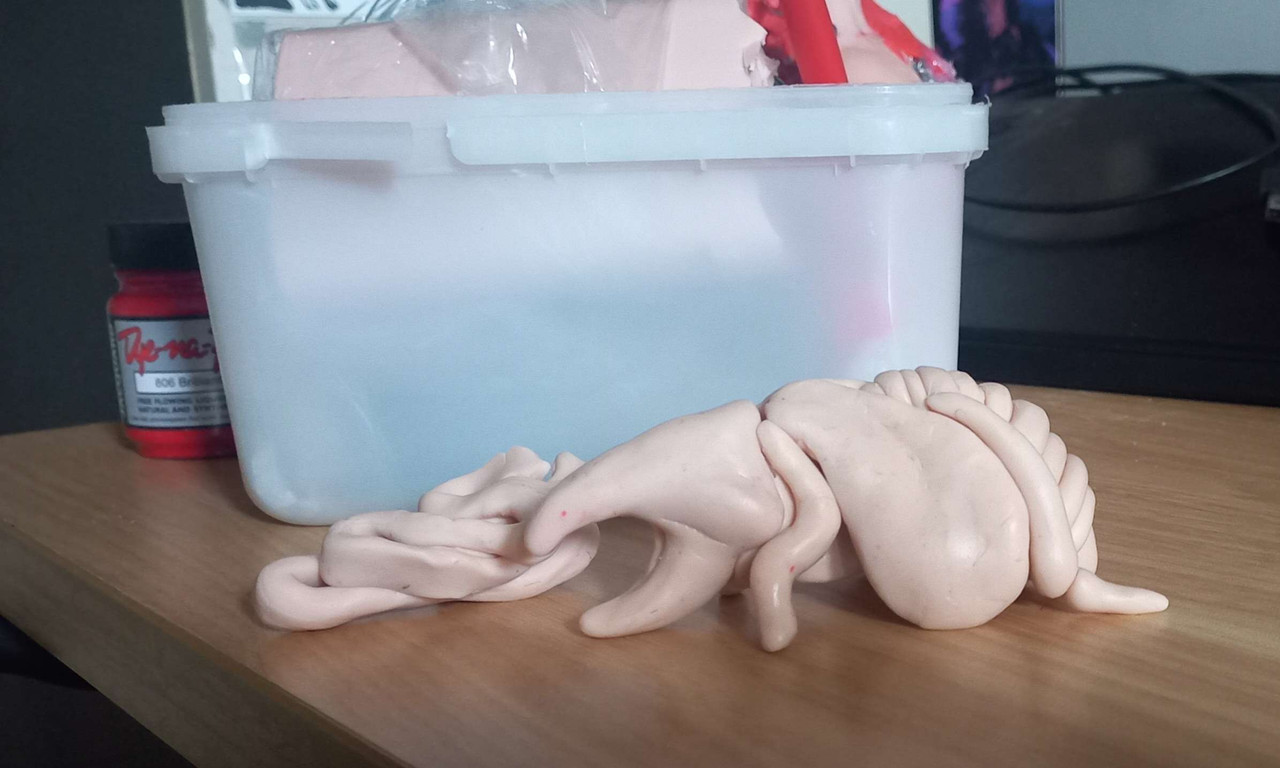
I ordered a crimson du-kit polymer clay this time, intending to paint lighter muddier orange, pink and red tones on top, leaving the clay between the shell segments a nice deep red. Normally with painting I use the usual cameo (peach) du-kit, I'll start light and darken into the crevices with paint as needed, this is a good reason to try the inverse. For the fuzzy mars rock, I'll use the same $2 car seat cover I used for my Toy Factory piece, I figured I could dye it with pen or acrylic paint (or water colour pigment knowing how I am) to be a similar bold red as the clay.
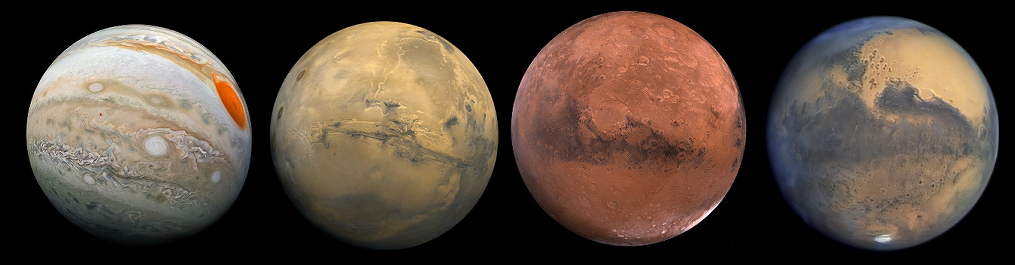
I'm very drawn to weathered, almost dirty matte textures of planet photography, and the palm tiles in my moodboard. The little bio I wrote in the moodboard is a loose way to give the piece a bit more intrigue, but also fits in with my general fixation on fat and the body. It's a thread I might take into my speculative biology setting at some point, this idea of space farers being baffled by a wholly fat creature being preserved or surviving because of their own fatphobia, extending it into a fixed scientific truth.

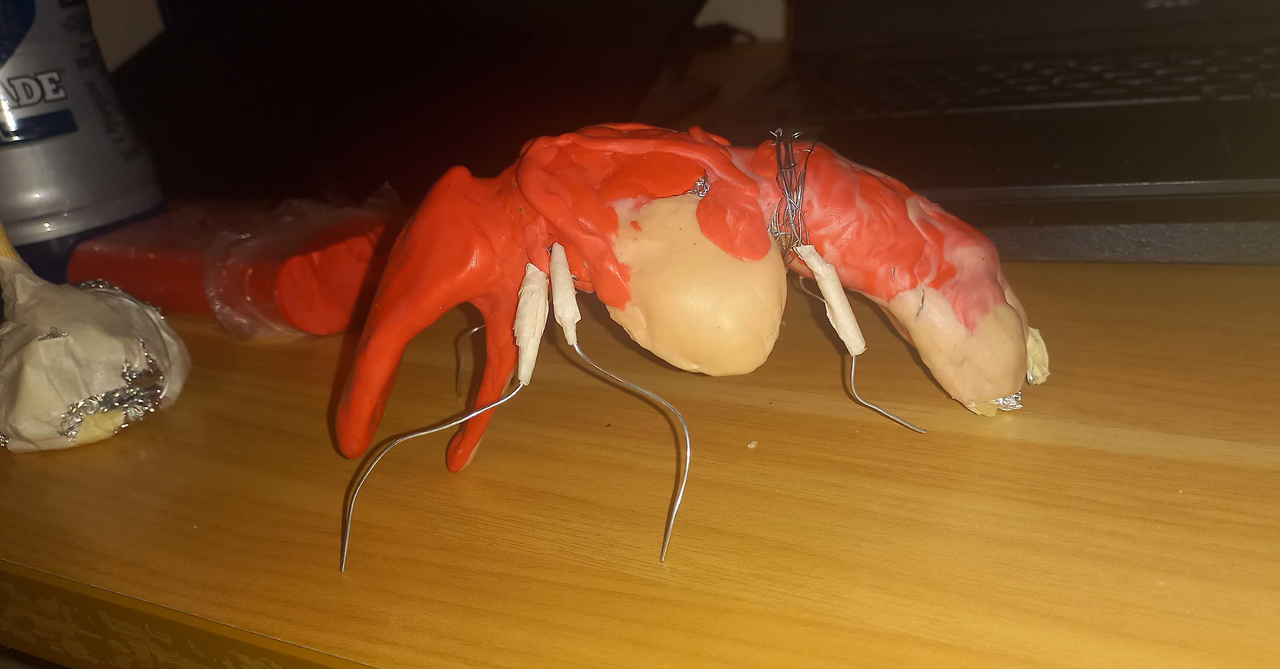
The process begins, wire, foil and masking tape! Later down the line I do restart the bug entirely, but I still photographed these stages so I'll give them their write up for documentations sake. Knowing I'd be attaching this to a big rock, I snapped a takeaway chopstick in half and wedged it up into its guts so I wouldn't forget to build an anchor point. (I'd forget to do this later anyway).

Beginnings of the rock base (also scrapped). I mapped the shape out with wire, wrapped that wire in masking tape, wedged foil inbetween the panels then added more tape again. Left a big hole for the chopstick.
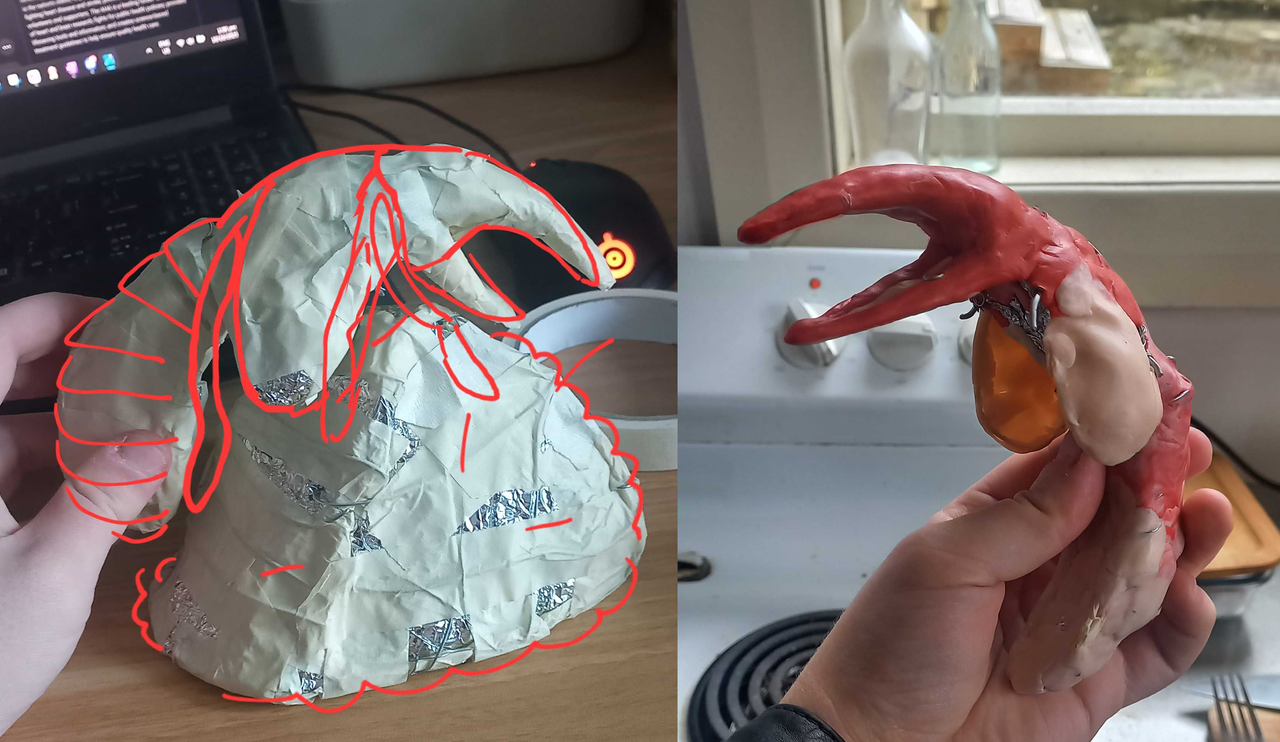
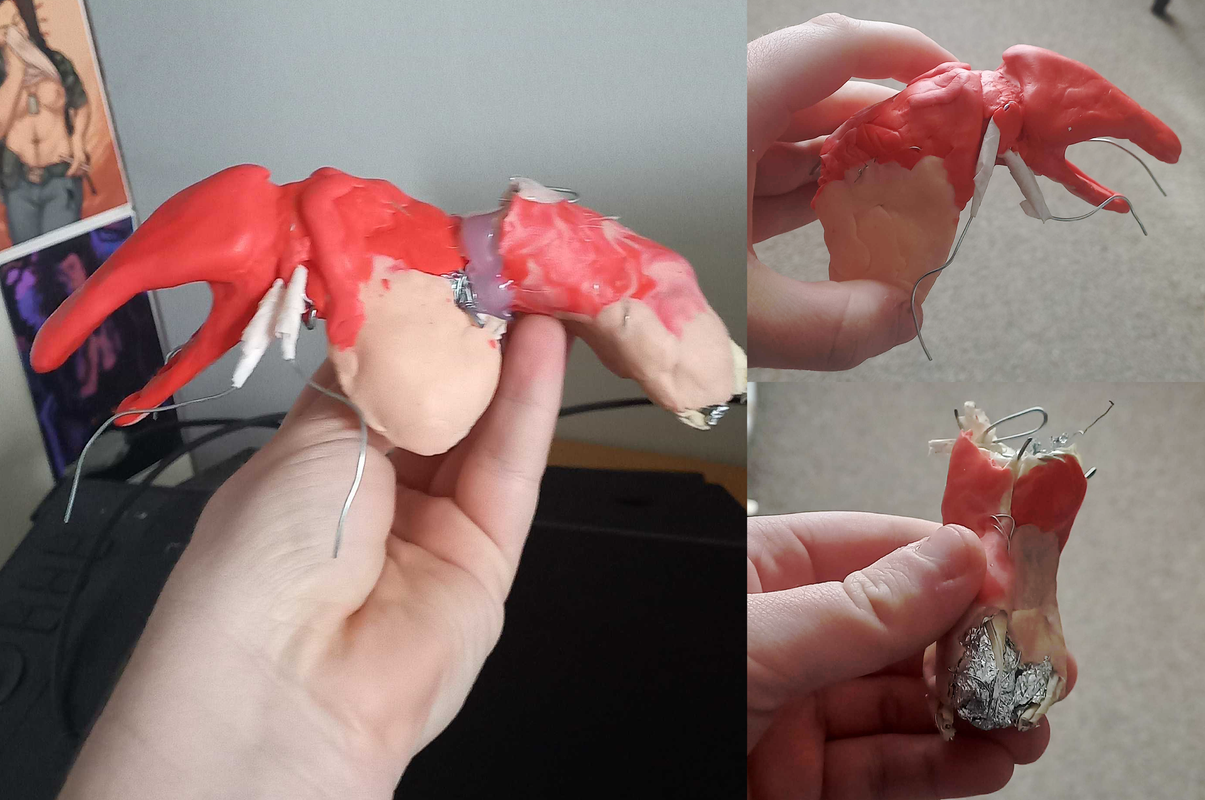
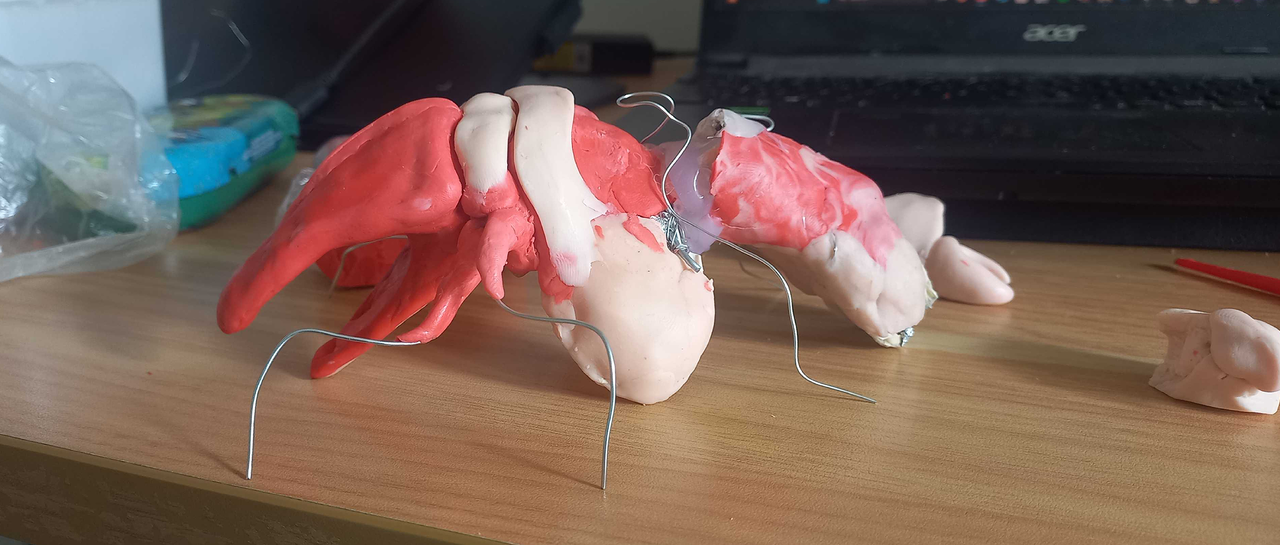
Quickly began to see problems with this. I'm pretty straight ahead with physical craft cause I struggle to translate designs to a 3D space, meaning I normally sculpt then correct after the fact, which is hard when you're also meant to be laying down a fixed framework to build on top of later. I red lined what I had so far on my phone as a quick guide.
I also found that the red du-kit super hard to work with, cameo is firm but doesn't take a lot of work to warm up and soften, the red absolutely did (Assuming it's something to do with the dye), and to make things worse none of it wanted to stick to the masking tape I'd completely lathered the wire frame in. I baked the first couple layers very quickly just so I'd have better purchase for molding more on top.